PICKLE CREEK RANCH
  • Home
    • Contact
  • Cheryl In Texas Art
    • Pixels - Art Prints
    • Fine Art America - Art Prints
    • Redbubble - Art Prints
  • Photography
    • Cheryl's PIXELS page
    • Cheryl's FINE ART AMERICA page
    • Cheryl's REDBUBBLE art
  • Essential Oils
    • Nature at its Best
    • Resources
    • Our Founder - D Gary Young
    • Product Line
    • Monthly Promos
    • Young Living News
  • The Ranch
  • Blog

The Blog Page

Communicating about essential oils, nature, photography, chickens and inspirations along the way.


YLEO SIGN UP

Gluten-Free Brownies

5/15/2016

6 Comments


Gluten-Free Brownies
By Cheryl L. McClure

Picture
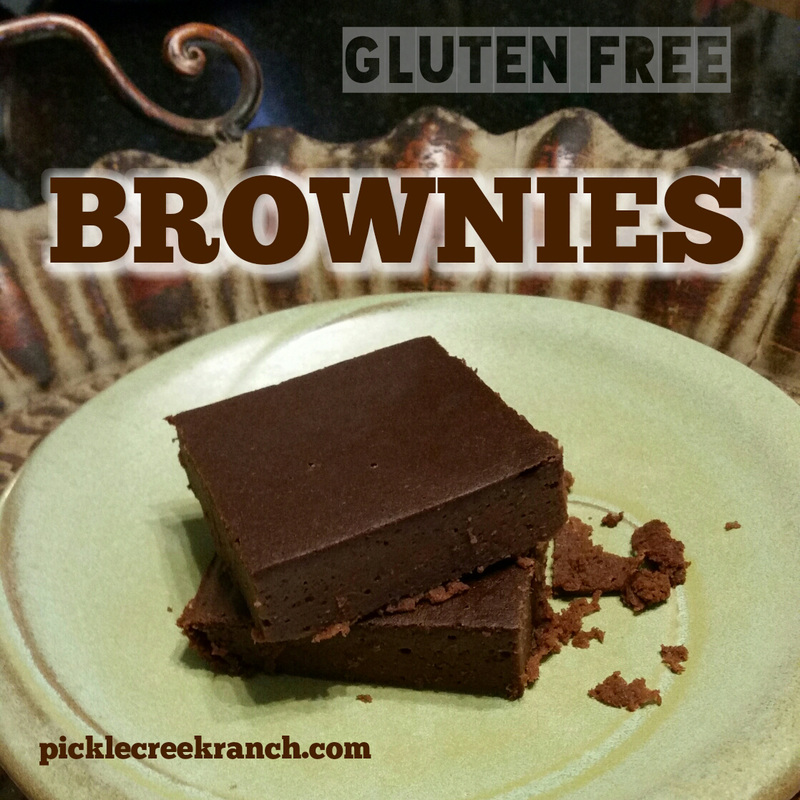
If you are a big fan of gluten-free foods, this one may appeal to you!

I am not a connoisseur of foods or cooking for that matter. I just try things out and if I like them... repeat! I saw this recipe and had to try it out. It was very simple to put together. I had just about everything that was required for the recipe so I went to work and BOOM! We had brownies!

My two cents: All I can say is that if I had gluten sensitivities, this recipe would pass! Especially since I like dark chocolate to begin with.

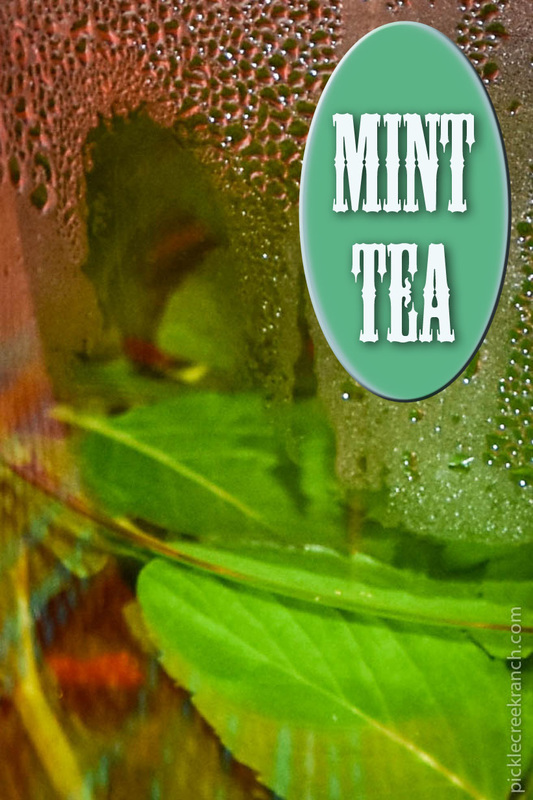
I have not purged the sugars and processed flour from my diet like so many dedicated, health conscious people. That being said, I might try some other brownie recipe, but I would definitely use my Young Living Peppermint Vitality™ essential oil! 

Here is your gluten-free brownie recipe:
All of this goes in the blender:
  • 15 oz. can of black beans, rinsed and drained
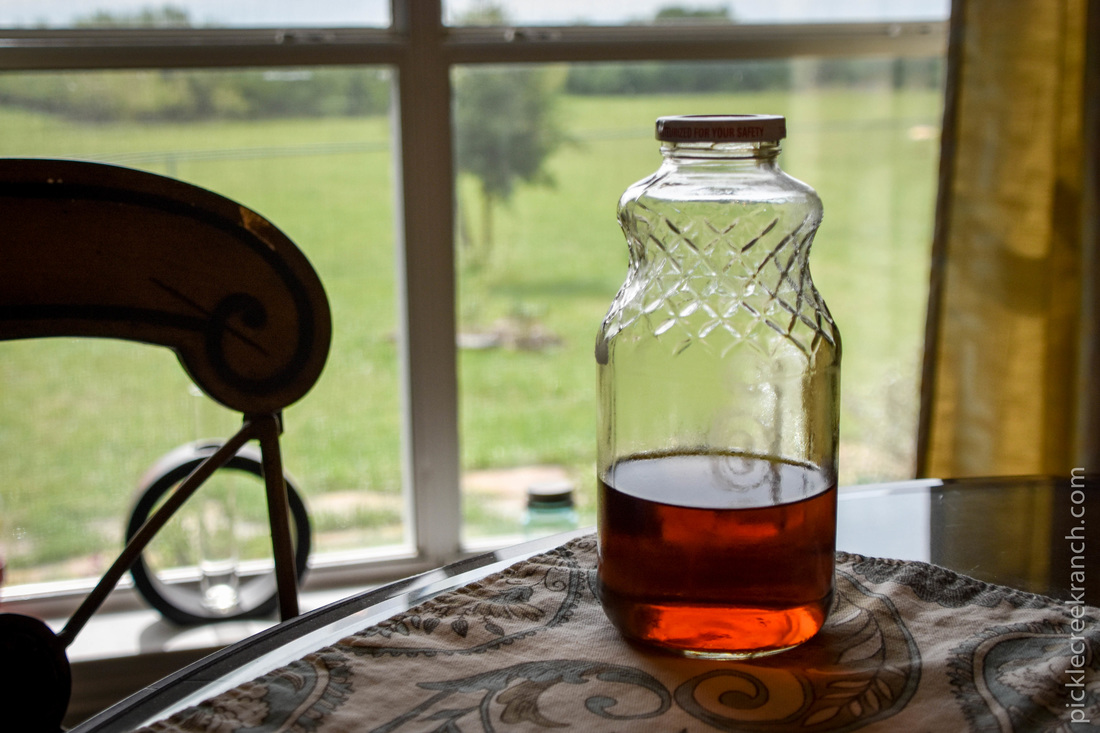
  • 1/2 Cup of Honey
  • 1/4 Cup of unsweetened cocoa powder
  • 2 tsp. vanilla extract
  • 1/8 tsp. salt
  • 1/3 Cup melted coconut oil
  • 2 drops Peppermint Vitality™ essential oil (by Young Living)
Whisk
  • 3 eggs in a large bowl
Add blended mixture into eggs and combine. 
​Pour into a greased 8" x 8" glass pan
Bake 350° for 25-30 minutes

Enjoy!!

Cheryl @ Pickle Creek Ranch
If you don't have any Peppermint Vitality™ essential oil, choose to purchase it retail or wholesale here> http://picklecreekranch.com/essential-oils.html

Original recipe from Young Living. https://goo.gl/1ko2FX
Floyd Family Homestead
​This post was shared on The Homesteader Hop
6 Comments

Mint Tea

4/21/2016

0 Comments


Mint Tea
by Cheryl L. McClure

Picture
Infuse your homegrown spearmint to make a wonderful crisp iced tea which will be caffeine free. Spearmint is good for digestion and smell is energizing.

It’s very simple to make and no measuring necessary since you can brew a pot of tea and later dilute with cold water to taste.
Picture
Mint is pretty in the garden. Keep it from blossoming to extend your harvest time. Top it off periodically and use for infusing or dry as potpourri for the henhouse!
Picture
First, harvest your mint by cutting the stems and rinsing in a water bath.
Picture
Boil the water in your tea kettle and pour over the mint stuffed carafe.
Picture
We had a coffee pot that died but we kept the carafe which came in mighty handy for this! The pictures shows it about half full of hot water but I had filled it up some more.

Cover the top and let steep for a while - 5 minutes or more is fine. The longer it sets, the stronger it gets. Add honey or sweetener of your choice (or not) to your glass container. Strain and pour; chill... and then drink up!!
Picture
Your jar will be full if you don't drink it all before you take a picture of it. Just sayin'.
Anyway, I added some honey to a glass jar that we saved from when we had bought apple juice. (Reduce, reuse, recycle!) This worked very well to strain the tea into. Actually, the tea was so strong I was able to make two of these jars full and then some. It’s all about your taste and what you prefer. You can always chill it and add water later if you find it too strong.

Depending on how many leaves you use, the resulting “tea” will have a lot of color in rich reddish golden tones with a hint of green mainly seen at the edge sort of next to the glass. See it? If you are not into color like I am it may just look brown to you. LOL

When we were painting the walls in our house and I said I wanted to paint them “Silver Drop” and “Dolphin Fin", Jan Paul said they were grey! I exclaimed they're NOT grey - they have a hint of green in them!! Ok, so you know where I’m coming from, right?
Picture

What about essential oils?

Picture
Spearmint essential oil is great for diffusing and since it is so useful I like it too. It supports a healthy digestive system and the aroma is uplifting. I can add a drop of Spearmint Vitality EO to my herbal tea and bump up the flavor. During winter, there are no fresh mint leaves to be had around here, so that is a good time add a drop of essential oil by Young Living and drink it hot!
​

You can purchase Spearmint Vitality EO here:

Spearmint Vitality EO
But to purchase at a 24% discount, become a member here> essenty.com/cherylintexas

Happy Diffusing, Infusing and Oiling!
Cheryl @ Pickle Creek Ranch

0 Comments

Feeding the Hummingbird

4/14/2016

0 Comments


Feeding the Hummingbird
by Cheryl L. McClure

Picture
Hummingbirds are so enjoyable to watch as they swoop in and hover at a flower or over a feeder. Their flapping wings rate at around 50 times per second. There are many species of hummingbirds and some travel 3,900-miles one-way from Alaska to Mexico. It’s no wonder that people love them so much they want to invite them to stop by for a feeding. That's all the more reason to put up hummingbird feeders for them!
Picture
Over the years I have spent a lot of time at the ranch where we have a feeder on the front porch and was able to shoot pictures of them when they arrived.

It was neat even, from the inside of the cabin because we had the feeder hanging right in front of the window!
There was also a branch we had stuck in the fencing where they would land and then take off like a jet!
When I didn’t know better, I was giving the hummingbirds a premade mix that contained red dye. Yes, it was convenient, and like so many of us, it was at the store and I thought it was ok. I mean why would someone manufacture something that is unhealthy? Later I realized the dye is NOT good for them, it's toxic!! We are bombarded with toxic products everywhere we turn. I decided it was high time that I start paying attention to ingredients. Anyway, it’s just as easy to make it at home. 

Now that we live closer to the ranch, I have a different feeder that was given to me by a good friend. It sits outside the kitchen nook at home and we get to watch the hummingbirds come and go throughout the day. 
Picture
It's very simple to make your own hummingbird nectar, so here you go>>>
Hummingbird Nectar Ingredients:
  • 1 part white granulated sugar
  • 4 parts water
​Instructions:
  1. Boil the water and pour into a glass container
  2. Add the sugar and mix till dissolved
  3. Allow mixture to cool
  4. Add mixture to the hummingbird feeder
  5. Store remainder in the refrigerator for a future refill

See! Simple!

Enjoy your birds and be confident they are getting just what they need while they are on their journey. Sure, they love the natural flowers but they like to stop at fresh, full feeders too! And you can be the one to make sure they are getting exactly what they need!
Picture

Oh, and between refills, clean the feeder so it will be free from dirt and germs. 1 capful of Thieves Household Cleaner with 3 cups of water is all it takes for general cleaning. Spray and use a bottle brush to get it good and clean.

That's easy enough! 
Picture
Enjoy!

​Cheryl @ Pickle Creek Ranch


There are lots of great options for hummingbird feeders and I have seen some that have red glass. Here are a few examples of different feeders:
0 Comments

Minty Cabbage Slaw

4/1/2016

2 Comments


Minty Cabbage Slaw
​by Cheryl L. McClure

Picture
I had a nice little crop of cabbages growing this year. First ever! I only grew 9 cabbages in all, but the last four were in a shady area next to the house and I figured I would give it a try anyway.

They didn’t get large and as spring approached I noticed that something started to nibble on one of them so I decided it was time to go ahead and harvest. I cut the large loose leaves off and fed them to the cows. Have you heard the phrase “how the cow ate the cabbage”? Well, they LOVE cabbage!! When they see me with cabbage they come bounding across the pasture to get a bite. And they eat it with a vengeance!
Picture
So, I had these two cabbages and decided to use the small one first. This is the only one I needed to make a flavorful slaw. I was so excited because I found a recipe that used mint in it and I am growing mint!!
Picture
First I chopped enough cabbage to make 4-5 cups. All it took was the smallest cabbage!
Picture
Picture
Next, I shredded 3 large carrots to make 2 cups and added it to the cabbage.

We enjoy the different colored carrots we buy from Trader Joe's when we make a trip to Dallas. They are great chopped and steamed with powdered ginger and a little butter too! Mmmmm!
Picture
Next, I sliced the 4 green onions to make a 1/2 cup. Then chopped the fresh mint to make a 1/2 cup. I think I went a little over, but it was still good! Note - if you are not going to serve it all at once you may want add the mint last before serving. Keep your mint as fresh for as long as possible!
Picture
Combine all the dressing ingredients together, whisking till well blended. Then pour and toss with your chopped salad. 
Picture
Doesn't it look pretty and colorful? It was a hit at our family gathering. So, here's the rundown:

Salad ingredients:
  • 4-5 cups sliced cabbage
  • 2 cups shredded carrots (3 large carrots from Trader Joe’s worked. Each one was a different color - purple, orange and yellow)
  • 1/2 cup thinly sliced green onions (4 large green onions)
  • 1/2 chopped fresh mint
Dressing ingredients:
  • 1/2 cup regular mayonnaise 
  • 2 Tbsp. lemon juice
  • 2 drops Lemon essential oil (I only use this kind) 
  • 2 tsp. sugar
  • 1 tsp. ground cumin
  • 1 tsp. JuvaSpice® (you can find here) 

Instructions:

Wash and slice cabbage to make 4 - 5 cups. Grate carrots to make 2 cups shredded carrots. It took three large carrots to do this. Chop or slice green onions to make a half cup. I had 4 large green onions for this. Then chop enough fresh mint to make half a cup. Combine all together. 

Whisk the dressing ingredients mayo, lemon juice, lemon essential oil, sugar, ground cumin and JuvaSpice. You can always change it up and use an alternative sweetener or additional spices.

Combine all together for a large salad but if you want to only use half, store the salad mixture separate from the dressing and it will stay fresh longer. You might even want to store the mint separately tool and add it in when you’re ready to serve.

I'm sure you will find this a pleasant dining experience if you have not ever tried it before!! It's good as a salad alone or topped with grilled chicken.

Happy dining, gardening and oiling!!
Cheryl @ Pickle Creek Ranch


If you are not familiar with Young Living or essential oils, click on over to Seed to Seal and see what makes Young Living so unique. If you would like to purchase any of their products you can contact me or go here> http://bit.ly/1iBsmw9
Did you know you can get Young Living products at a 24% discount? I can show you how.
2 Comments

Oh Happy Days!

3/30/2016

0 Comments


Oh Happy Days!
By Cheryl L. McClure

Picture
Don't be stubborn! You don't have to tough it out - there's help!! Lavender, Lemon and Peppermint are a great trio to have on hand any time of the year. They are great together for supporting the respiratory system.

Vitality oils are labeled as supplements so that you can take internally. For example, 3 drops Lavender Vitality, 3 drops Lemon Vitality and 3 drops Peppermint Vitality. Add them to NingXia Red or put in a capsule with and 3 drops carrier oil (coconut or olive oil will work). You're welcome! 

On their own, there are also many other uses. Lets look at each one individually.

Lavender - Topical 
Ingredients: Lavandula angustifolia  (Lavender) oil

Has a calming and soothing fragrance. It makes a nice linen spray: 8 drops Lavender + 4 oz spray bottle (like this) of distilled water. Lavender is also a relaxing addition to skin care products and it’s great in the bath. Mix with epsom salts and soak in the tub!!

Lavender Vitality™ - Supplement
Ingredients: Lavandula angustifolia  (Lavender) oil

With a sweet, slightly floral flavor, it pairs well with many foods. Use Lavender Vitality™ essential oil to add this delightful flavor to your meals. It is complimentary with dairy in shortbread, pound cake, ice cream, meringue, or whipped cream recipes.

Lemon - Topical
Ingredients: Lemon (Citrus limon) peel oil

Did you know it takes 75 lemons to make one 15 ml bottle of Lemon essential oil? It is energizing, cleansing and is used for circulatory support. Just the smell alone is uplifting!

Lemon Vitality™ - Supplement
Ingredients: Lemon (Citrus limon) peel oil

Add Lemon Vitality™ oil to fish, chicken or even pastries and cakes. Yum! Add a drop or two to your glass of water each morning to start the day off right!  Or you could add 1-2 drops to a vegetarian gel capsule and take daily or as needed.
You will want a
​glass water bottle something like this:
Because lemon eats plastic. Just saying'.

Peppermint - Topical
Ingredients: Peppermint (Mentha piperita)† leaf oil

This oil is energizing and it supports digestion. Apply a drop or two of Peppermint to your head and neck for a little boost of positivity. I used to put a drop in my palm, rub palms together and cup my nose to breathe in. It helped me a lot when I was sitting at a desk all day behind the computer. Try diffusing with other oils like Rosemary, Spearmint or Sage.

Peppermint is a key ingredient in PanAway®, AromaEase®, Aroma Siez™, Relieve It™, and Deep Relief™ Roll-On essential oil blends.

Peppermint Vitality™ - Supplement
Ingredients: Peppermint (Mentha piperita)† leaf oil

This is a versatile oil and it’s flavor is well liked! It can support healthy gut function and digestive efficiency. Add to water or tea or even a workout drink like NingXia Red or NingXia Nitro.

This is another oil you can add a drop to a glass of water for a refreshing start of the day. Personally, I like it in my herbal hot tea at night!
Picture
​Add a couple of drops to one chocolate bark bar (like this) when you make chocolate dipped pretzels (like these) for a special treat! 

I hope this gives you some ideas for using your oils. If you notice, each of the oils has a Vitality version. This way, when you see a Vitality oil, you will know for sure that you can ingest that type of Young Living essential oil. Note the same ingredients but a different label.

​
There is so much to gain when you do your research. There are even more ways to use these valuable oils. I hope you will take charge of your health and enjoy the benefit, because you chose to make it the best it can be!


Every drop of healthy change adds up! Shop here> Choose Onsie, Twosie or Best Bang for Your Buck!

Happy Oiling!
Cheryl @ Pickle Creek Ranch
​yldist.com/cherylintexas

0 Comments

How to Move a Greenhouse

3/29/2016

1 Comment


How to Move a Greenhouse
By Cheryl L. McClure

Picture
Have you ever wondered how to move a gigantic THING? I’m talking structures like a henhouse or a greenhouse.

How lucky we are! A friend of mine called and told us they knew someone who had a greenhouse in their backyard and just needed it removed. Take it away. Free! We didn’t know what kind but Jan Paul, being the handyman he is, went to check it out. It was a 8 x 15 ft fiberglass greenhouse that needed some TLC once we got it home. It took some work to get it out. The owner had workers at their house to help Jan Paul lift it and set it up on his trailer. Then came the task of anchoring it down for the hour + ride home down the highway. He strapped it in and secured it for the ride. 

It had been so windy the last week or so, he kept it tied down to the trailer. We finally go a break and were able to move it off the trailer and into position between the duck pen and the compost piles - and additional composters we received when our son-in-law bought an abandoned house. This was our lucky week. Woo Hoo!

Anyhow, I set this up in a slideshow so you can see how gradually and easily Jan Paul made this work. It astonishes me the way he can take what I see as a monumental task, and turn it into a seamless structured activity that accomplishes the goal. He did basically the same thing when moving the henhouse from the ranch to the country house.

Note the back of the greenhouse was at the front of the trailer so we couldn’t just back the trailer in position and slide it off. We had to slide it off the side and pivot the greenhouse so the door would land in the front.
  1. After getting the greenhouse home: The edges of the greenhouse were lifted or braced up and treated 1x6 lumber was slid under and screwed to the underside of the lip. He also put 1x6 on top of the lip sandwiching it.
  2. Regular 2x4s were then placed perpendicular under the 1x6s and going across the trailer to the other side; screwed in place for bracing.
  3. After pulling the trailer in position, an additional 12 ft - 2x6 was added across the front and one was added across the back, attached to the treated pieces underneath. An additional 2x4 (side brace) (full length of greenhouse) was screwed under the 12 footers. Now the side brace will make it easier to slide down the “ramp” made of additional 2x4s leaning between the existing braces underneath.
  4. The yellow straps were secured so that we could push the greenhouse and it would tilt and slide but not go all the way down the ramp. They were attached to the trailer and then wrapped around the long 2x4 side brace that ran parallel to the greenhouse. So we would push a little and then release the strap a little and then push some more.
  5. Once it was at ground level, two of the 2x4s were then moved under the side brace. Jan Paul, using another strap at the opposite end, was able to slide it across the 2x4 pivoting the greenhouse.
  6. Using leverage, he lifted the bottom so I could slide the PVC underneath. This allowed us to roll it in position. We had an additional piece of PVC that ran past the width of the greenhouse, so with two of them, we were able to easily move it further back or forward to our desired location.
  7. We removed the additional bracing with leverage from a shovel or 2x4 to lift the edge and then placed bricks under the treated lumber. A little shoveling of dirt and so forth was needed to get it level. 
Oh, and see, I was just mainly there for moral support. LOL He could have done this whole thing by himself. Amazing. Next we move the burn barrels...
Picture
But we are not done yet! Normally this greenhouse is sunk in to the ground about six inches, but we are going to anchor it and fill the inside with gravel. 

The fiberglass is a bit worn and needs a new coating so it still needs to be cleaned and coated. Jan Paul is also planning to build a frame and glass door for it, plus the windows/props need some adjustment and repair. But all in all this will make a great place to put our patio plants in the winter time and start or even grow veggies in the winter! 

Do you have any tips on greenhouse gardening? I’d love to know!!
With the chicken yard, coop and henhouse, duck pen and greenhouse, we are going to call this the Duckominium Complex. Once we get the greenhouse in shape we still have plans for improvements on the henhouse and the duck pen. It’s all good. It’s all fun! If you want to see how we built our henhouse with repurposed materials you can see the article called Henhouse from Scratch.

The best part is, we didn’t need any Pan-Away or Deep Relief or Orthosport after this. But you can bet I have it on hand for when we do!! Be ready for the next time you have worked extra hard and you want relief.  Find your relief here> YL Essential Oils

​Happy Gardening!

Cheryl @ Pickle Creek Ranch
1 Comment
<<Previous
Forward>>
    Picture

    Cheryl L. McClure

    Young Living Distributor
    #1176855

    I have retired from the corporate world and now enjoy keeping chickens, ducks, working in the garden and cooking more than ever before!

    More below...

    Categories

    All
    Art
    Bathroom
    Birds
    Butterflies
    Cats
    Chickens
    Cleaning
    Community
    Cooking
    Decor
    Diy
    Ducks
    Edible Landscape
    Essential Oils
    Fire Starters
    Free
    Gardening
    Healthy
    How To
    Instant Pot
    Local
    Make Your Own
    Nature
    NETT
    Rainwater
    Ranch
    Savings
    Tools
    Travel
    Volunteering
    Young Living


    ​Blog Posts:
    PV Assistant
    Malabar Spinach
    ​Throne Scents
    Clean House
    Shrimp
    Weight Management
    Black Swallowtail
    Gluten Free Brownies
    Mint Tea
    Hummingbirds
    Minty Cabbage Slaw
    Respiratory Support #1
    Respiratory Support #2
    Respiratory Support #3
    How to Move a Greenhouse
    ​But I'm So Cute!
    Raised Bed Gardening
    NETT Cleanup
    Exercise at the Ranch
    DIY Chicken Treats
    DIY Fire Starters
    Poblano Pepper Powder
    Green Tomato Weekend
    MYO Nitey Nite EO rollon
    Essential Oils and Chickens
    ​Diffusing Essential Oils
    Longhorns at the Pound?
    What's in your Trough?
    Using Rainwater at the Ranch
    Raindrop with Young Living
    Young Living Price Comparison
    Young Living - Beginner Tips
    The Essential Oil Bottle 
    Sage Essential Oil
    Ear Support and EOs
    Crape Myrtle Surprise
    Quick Cat Shelter
    Chemists's Perspective on YL
    The Athlete
    Chicken House Reveal
    Campus Health
    Concentration
    Accidents and Essential Oils
    Young Living Farms
    Kid Scents Collection
    Itchy Skin
    ​Probiotic - Life 9
    Turmeric and AgilEase
    Enjoying the Harvest
    ​
    Diffusing the Ocean Breeze
    The Lavender Farm
    An Ounce of Prevention
    Traveling with Essential Oils
    The North Sulphur River
    DIY Bleach
    Reflection of Tears
    ​MYO Lotion Bars - DIY
    Zucchini Boats
    Instant Pot Cilantro and Lime Rice
    Instant Pot Zuppa Toscana Soup
    Fresh Guacamole Please!
    Instant Pot Tomato Sauce
    Honey Lavender Lemonade
    Honey Lav/Lemon Ice Cubes
    Tools For The Garden
    Veggie Tian from the Garden

    Archives

    November 2024
    August 2024
    May 2024
    April 2023
    December 2022
    July 2022
    June 2022
    March 2021
    January 2021
    November 2020
    September 2020
    August 2020
    July 2020
    May 2020
    February 2020
    August 2019
    March 2019
    January 2019
    May 2018
    February 2018
    December 2017
    August 2017
    July 2017
    June 2017
    May 2017
    February 2017
    January 2017
    October 2016
    August 2016
    July 2016
    June 2016
    May 2016
    April 2016
    March 2016
    February 2016
    January 2016
    November 2015
    September 2015
    July 2015
    February 2015
    January 2015
    November 2014
    October 2014
    September 2014
    August 2014
    July 2014
    June 2014

    CONTACT INFO
    It's probably pretty obvious I love nature and art. Nature and landscape photography is a part of everyday life at the ranch. There are some pieces available as works of art that I would like to share with you!

    I only recommend Young Living essential oils because I am confident in their purity and the quality of their essential oils and other products. I am not a doctor. The information I post on this website is for educational purposes only. Young Living supplements are designed to improve nutrition; they are not intended to diagnose, treat, cure, or prevent any disease. However, scientific research has established a connection between nutrition and we all know better nutrition leads to better health.

    Please consult with the medical professional of your choice whether using essential oils or not. Remember that being proactive and taking responsibility for your health is in your own best interest. Dig in, research and make wise choices. I encourage you to see what others have done with essential oils and supplements by visiting Oil-Testimonials at http://www.oil-testimonials.com/.

    I hope that this website and blog will provide you with helpful information and resources to achieve your desired goals!!
    ​
    Feel free to contact me if you have questions or concerns as I am here to help and hopefully point you in the right direction!​

    RSS Feed

    Go to> • Home • Cheryl In Texas Art • Photography •  Essential Oils • The Ranch • Blog
Web Hosting by iPage
All photography and graphics crafted by Cheryl L. McClure • does not include iPage template